Cats are very clean animals and usually groom themselves. However, there are times when they still need their owner’s help — for example, to remove dirt from their ears. To avoid harming your pet, it’s important to understand the correct method and which cleaning products are safe to use. How do you clean your cat’s ears? What tools are needed? This article explains everything in detail.
Does a Cat Need Ear Cleaning?
A cat’s sharp hearing helps with hunting, navigating in the dark, and detecting potential threats. If hearing declines, a cat may feel insecure and uncomfortable, as it loses one of its most important “tools.”
Earwax protects the middle ear from dust, pathogens, and foreign particles. Therefore, a small amount of earwax is normal and does not require human intervention. If secretion becomes excessive or cannot clear naturally, the owner should help with cleaning.
Poor ear hygiene can lead to earwax buildup. Blockage may press against the eardrum, causing discomfort and in severe cases even dizziness or nausea. In addition, the ear canal provides a favorable environment for bacteria to grow. Excess discharge not only affects cleanliness but may also lead to infections.
Regular ear cleaning should be part of routine pet care. It helps reduce the risk of otitis, fungal infections, and dermatitis, and preserves your cat’s hearing for many years.
When and How Often Should You Clean?
Indoor cats are less exposed to dirt and dust than outdoor cats, so their ears only need cleaning when visibly dirty. If you notice earwax or dust during a visual inspection, it’s time to clean. In general, once a month is sufficient.
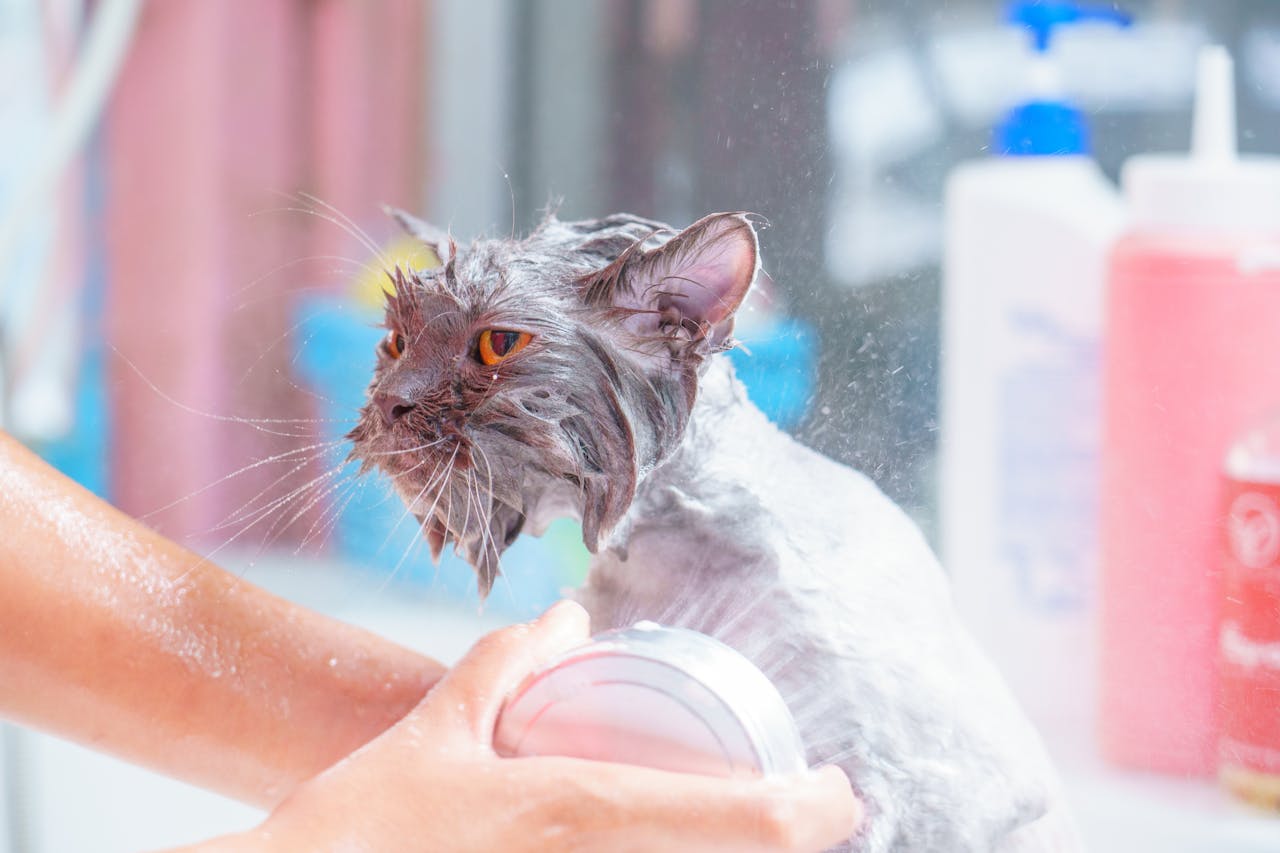
Hairless cats require more attention — due to the lack of fur protection, they tend to produce more earwax. Cleaning 1–2 times per week is recommended. Scottish Fold cats, due to their ear structure, may have difficulty cleaning naturally and usually need cleaning about once every two weeks.
Keep in mind that earwax has a protective function, so cleaning too frequently is not recommended. Over-cleaning may disrupt the natural ear flora and stimulate increased secretion.
If you notice scabs, pus, or a sudden increase in dirt during inspection, consult a veterinarian. This may indicate illness.
Also observe your cat’s behavior — frequent head shaking or pawing at the ears can be signs of a problem. Do not attempt to treat or remove purulent discharge yourself, as this may worsen the condition.
Preparation Before Cleaning: General Recommendations
Before cleaning, prepare not only the tools but also your cat. Many cats dislike interference and may resist. It’s best to accustom cats to ear cleaning from an early age. Kittens adapt more easily and develop positive habits. As adults, they tend to remain calmer during the procedure, making it safer and more comfortable.
How to Calm Your Cat
Choose a moment when your cat is relaxed and receptive — usually after sleeping or eating. Gently pet your cat and speak softly to create a calm environment. Do not scold or punish if it tries to escape, as this may create fear or resistance.
You may ask someone for assistance and wrap the cat gently in a blanket or towel to prevent sudden movements. If the cat is highly agitated, postpone the procedure or complete it in two stages.
What Do You Need for Cleaning?
Prepare cotton pads or gauze and a pet-specific ear cleaning solution (available at veterinary clinics or pet stores). Solutions come in water-based and oil-based forms. Oil-based products are generally milder and less irritating. Spray formats are also available.
Medicated ear cleaners may have regenerative, antibacterial, anti-inflammatory, or antiparasitic effects. These should only be used under veterinary guidance to avoid improper treatment.
How to Properly Clean Your Cat’s Ears
Follow these steps:
- Wash your hands with soap and prepare all tools, keeping them out of your cat’s reach.
- If the solution was stored in the refrigerator, allow it to reach room temperature. Cold liquid should not be applied to the ear.
- Place the cat on a stable surface and secure it. A towel can help prevent slipping.
- Apply the recommended amount of solution into the ear (you may gently fold the ear outward) while holding the head steady.
- Gently massage the base of the ear to distribute the solution evenly.
- Use a cotton pad to wipe the inside of the ear and the entrance of the ear canal, moving from inside outward. Do not insert deeply into the canal.
- Praise your cat and offer a treat afterward.
For cats with unusual ear structures, such as Scottish Folds, American Curls, or Elf cats, handle the ears carefully to avoid damaging delicate cartilage.
What Should Not Be Done?
Do not use alcohol-based or antibiotic-containing cleaners, as they may disrupt the natural ear flora and increase infection risk.
Avoid household remedies such as iodine or hydrogen peroxide. These can cause burns and stimulate excess secretion.
Do not use cotton swabs — use cotton pads instead. Swabs can damage the eardrum or push wax deeper into the ear canal. If cotton becomes lodged inside, only a professional can remove it safely.
Special Care for Kittens
When cleaning kittens’ ears, be especially gentle to avoid cartilage damage. If you are unsure, consult a professional.
A cat’s health depends on many factors, and proper ear care is an essential part. Regular inspections, appropriate products, and timely veterinary visits will ensure your cat continues to hear your loving words — and respond with a gentle purr — even in old age.